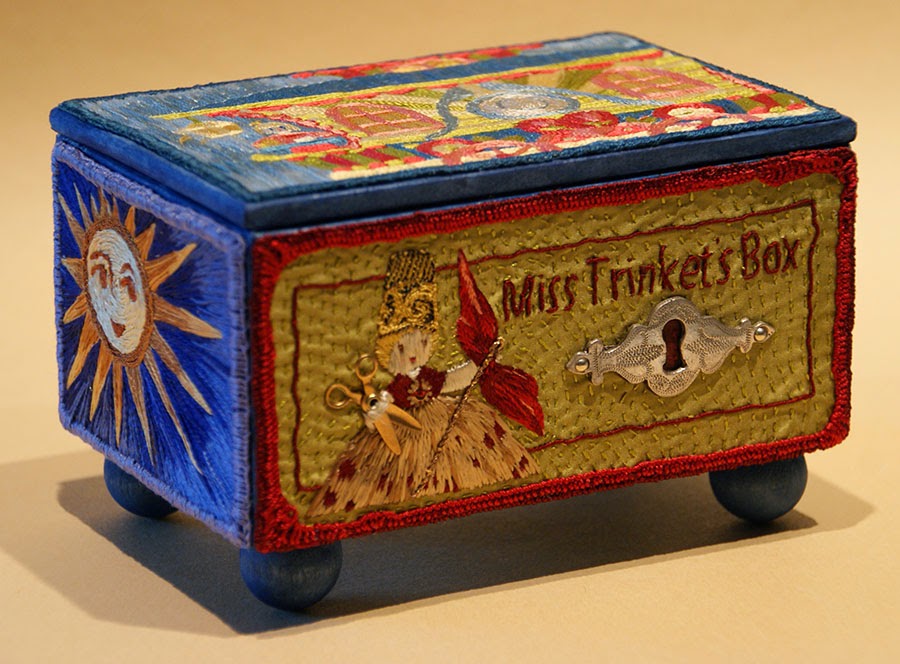
My Trinket Box is finished. Here is what I learned.
1. Covering with paper.
It isn’t difficult, but it does take time and thought. The edges are the critical points. Studying extant caskets will quickly show you the spots to pay attention to. Anything that will be left exposed in the end I have decided I want to wrap, not leave a raw, cut edge. I will try to place raw edges where the embroidery will cover them.
2. Dyeing/painting the paper edges. I will definitely use this technique on my casket. First I will test other products. Occasionally the dye rubbed off where the wheat paste touched it. I don’t want that on the casket but now I know what to test for.

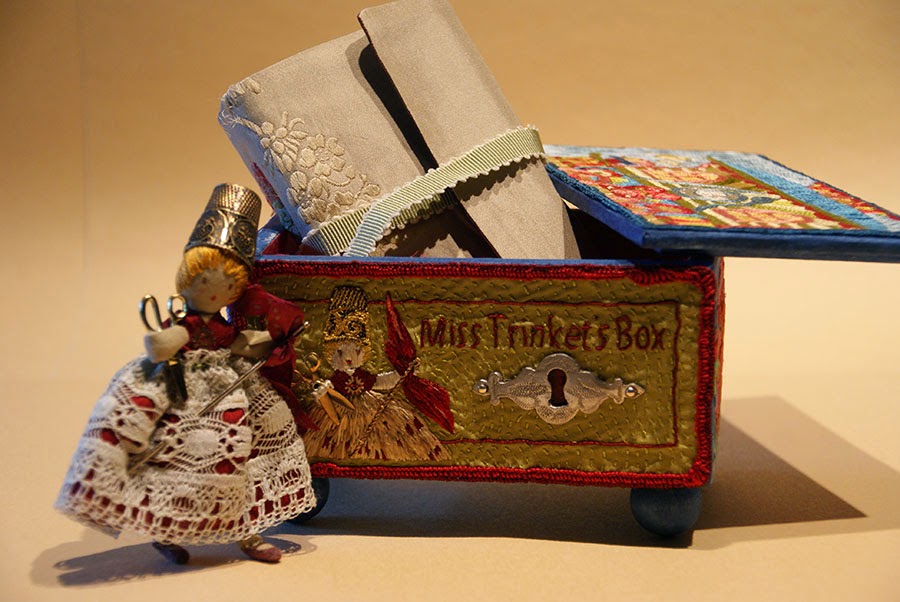
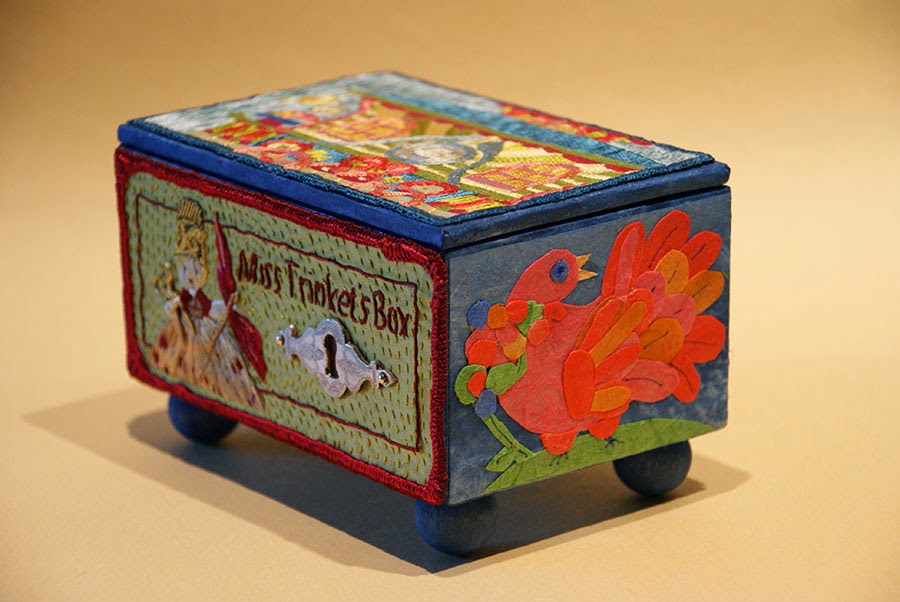
Go with the flow! This is a fun project. Embrace and enjoy what happens along the way. I totally forgot about the key hole cover for the trinket box. Since on this trinket box it is just a dummy cover I could place it anywhere I wanted. Actually I don’t think I could have planned this any better!
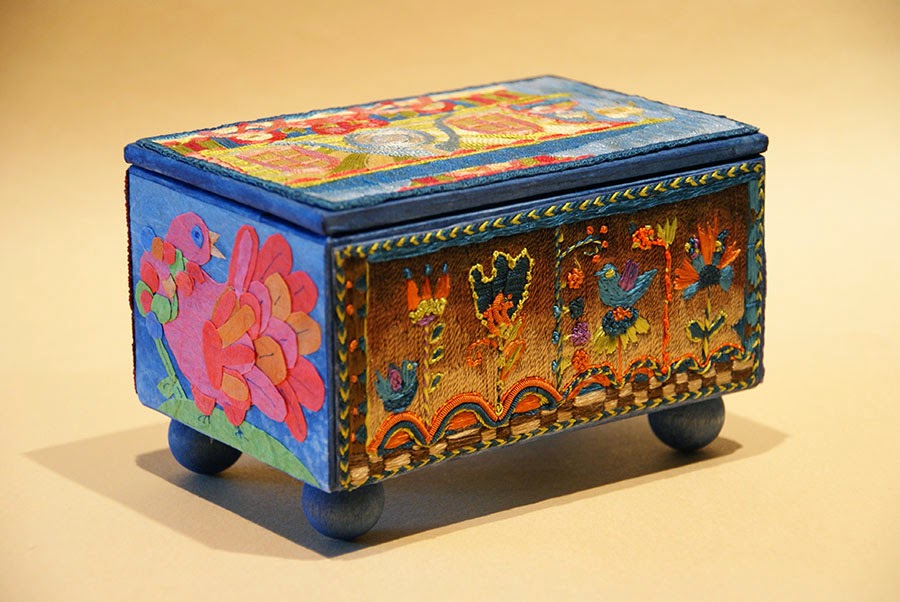
3. EDGES
This was the topic I was most curious about when I started putting the box together. I tried finger looped braids, buttonholed edges and glued on needle stitched borders. They all have great potential and I’m sure they will show up on the final casket.
I also now realize what an unifying element the silver tape is.
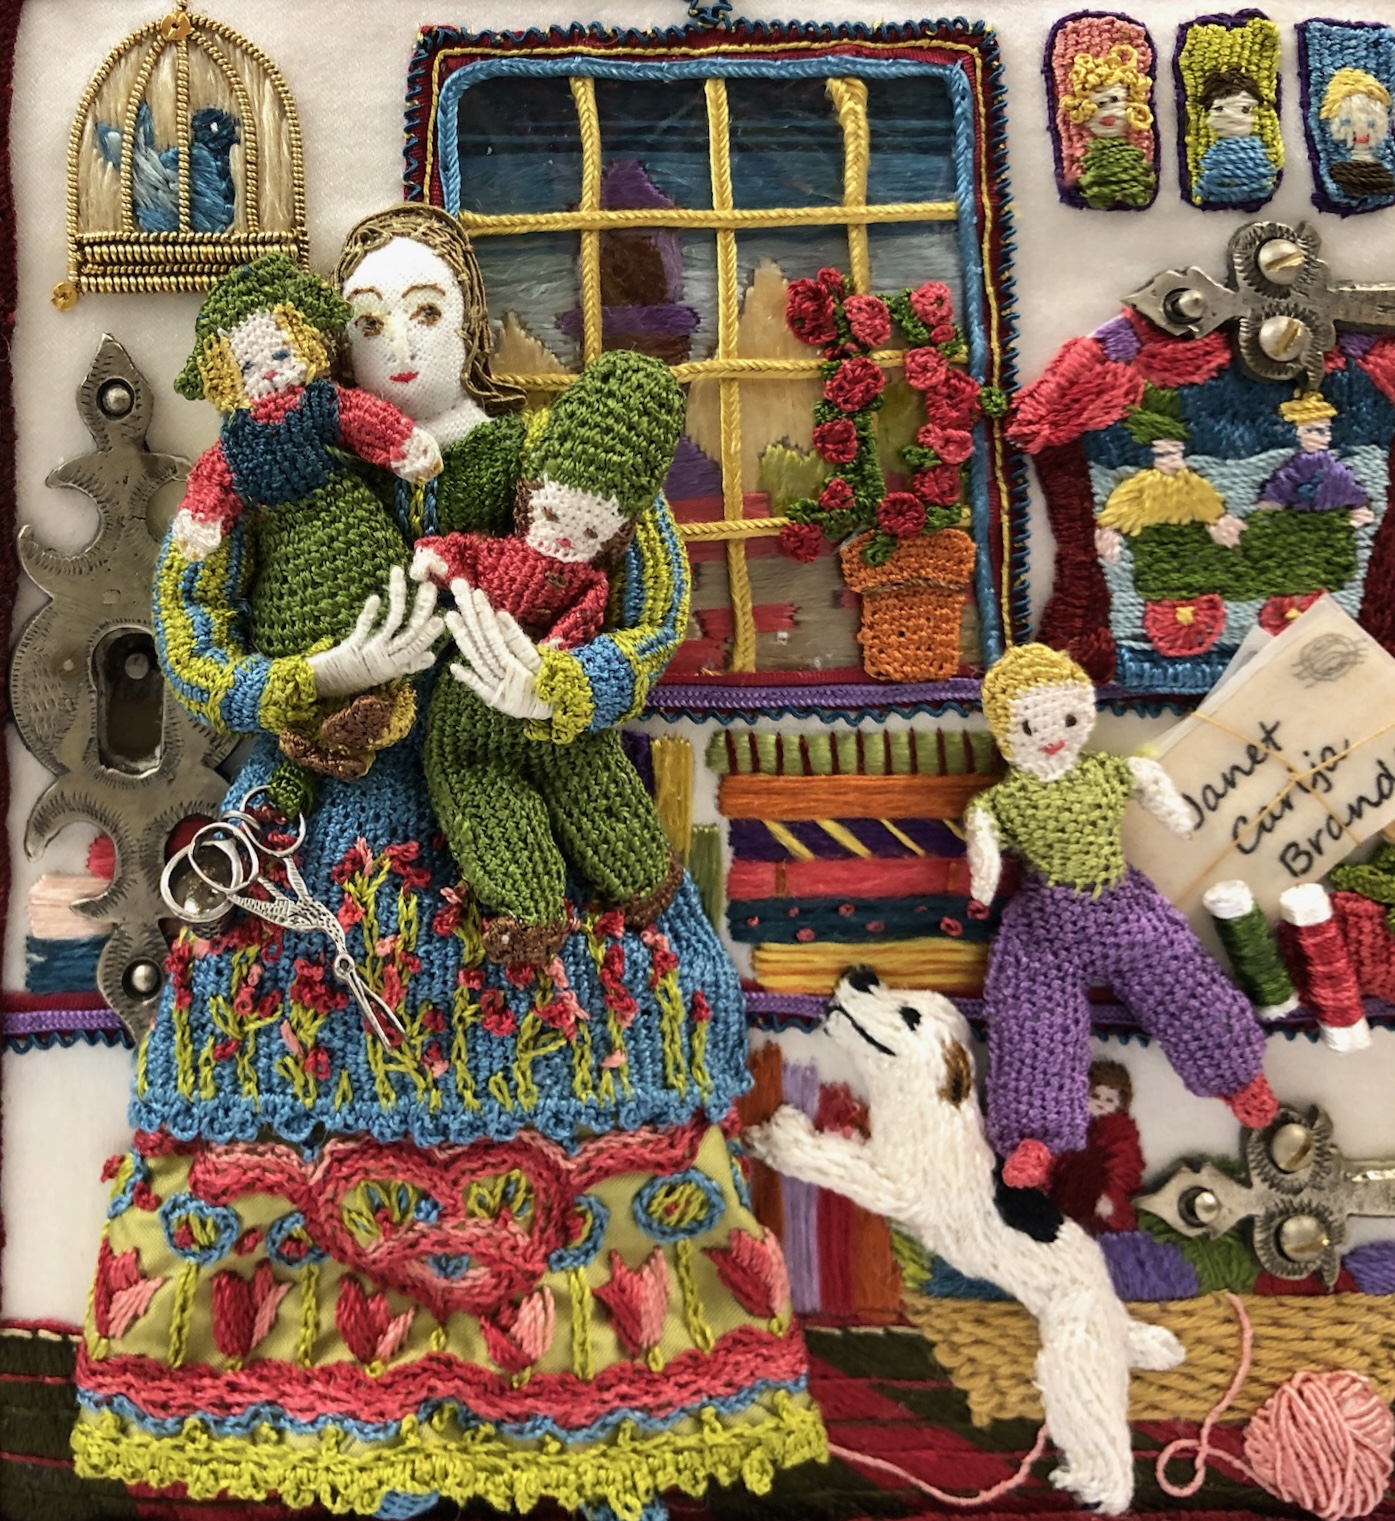
So what’s with the bird?

This is my version of the gummed silk techniques. I decided to play with dyed mulberry papers. Mulberries are what silkworms eat therefore this is my version of gummed silk. I made that up. It isn’t really gummed silk. But it was lots of fun and I will be using it inside the casket. Don’t care for the pen details. I will have to find a different way to add details.

I smiled when I read that you said it is not difficult to do, this really is a work of art so beautiful and I can see how much love has gone into creating it and thought too.
Certainly a good idea to try out the techniques you will need on something a bit smaller than a casket!
Experience is the best teacher, and you have learned so much with this little project. I look forward to seeing how you put these techniques into play with the casket!
Thankyou so much for your tips, Janet. I'm sure I will be pouring over them when I'm doing my own trinket box.