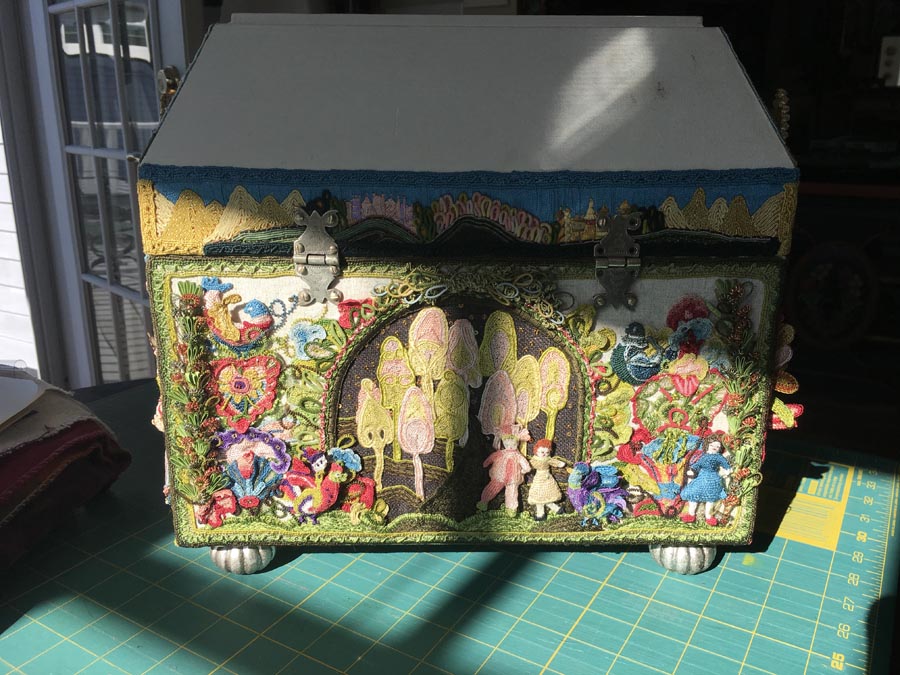
After posting images of the back panel I decided it wasn’t done to my satisfaction.
So, using some of the techniques I used for the Casket Toys, I created some swags for the two sides and the top center of the panel.

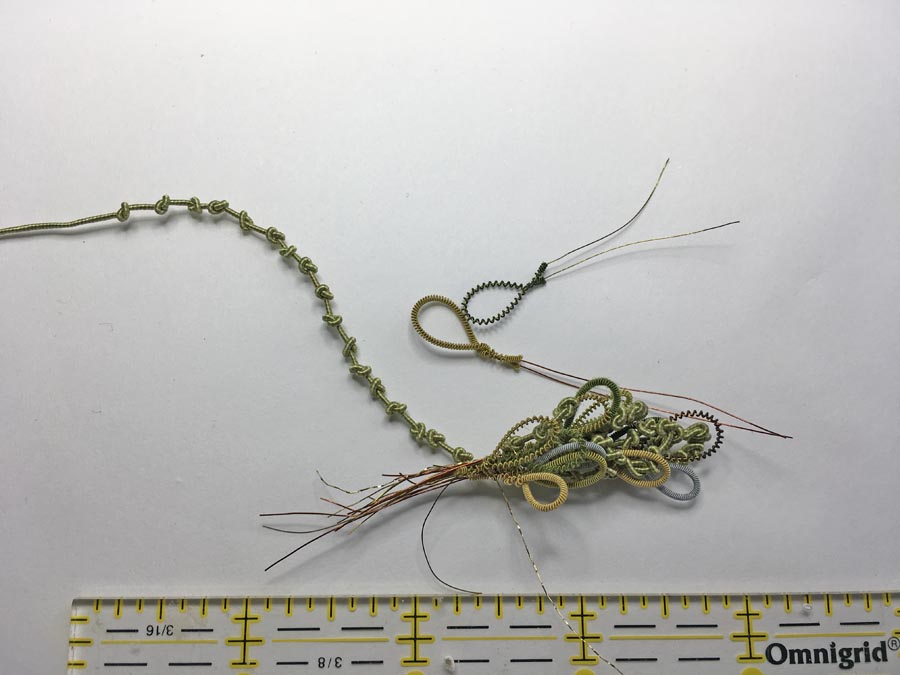
These are the side swags.
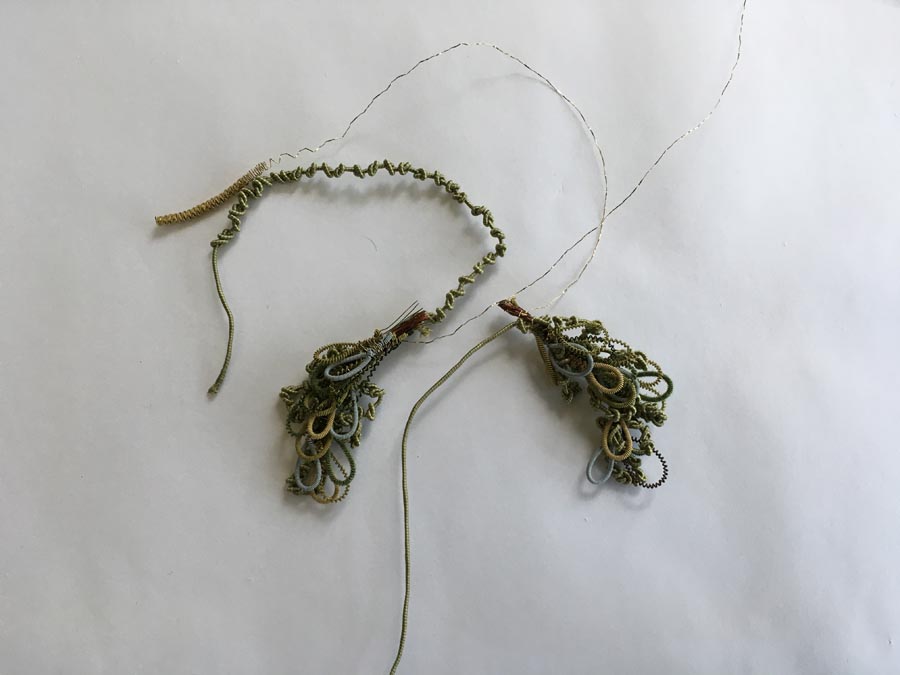
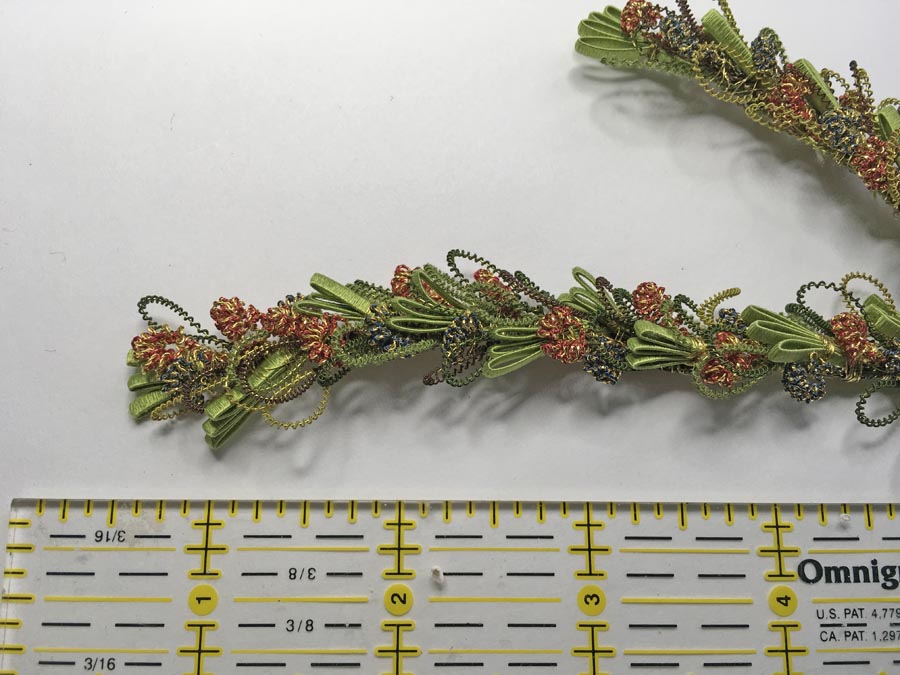
These are the top arch segments in pieces….
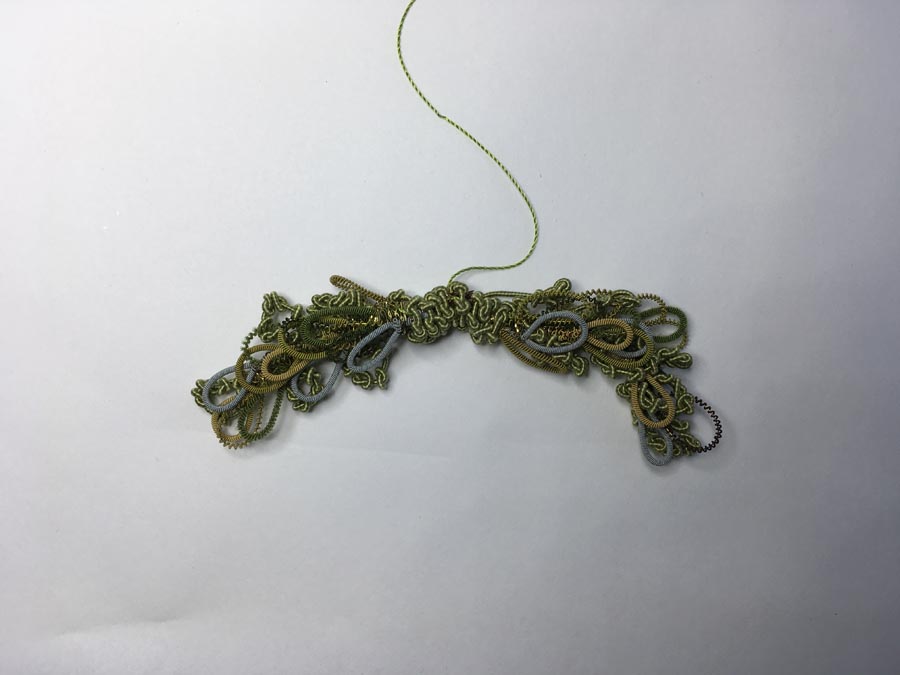
…and here is the top arch ready to be added to the casket panel.
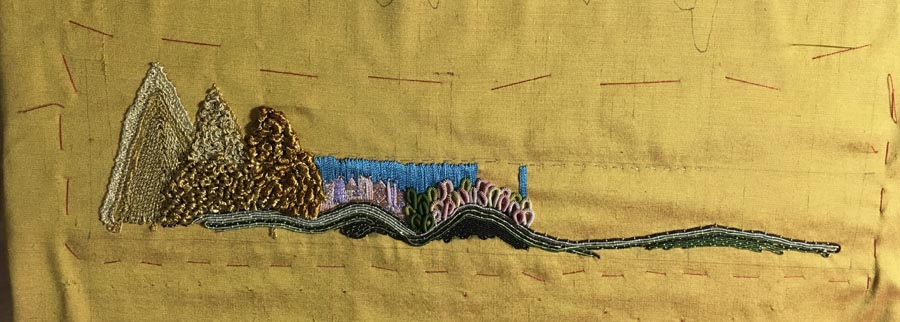
I also completed the frieze above the Enchanted Forest panel. In the image above, the Golden Rule Mountains projected above the frieze edge just as the do on the side friezes of the casket.
Didn’t like it.
Then I tried using Italian wire mesh for the mountains.
Didn’t like that either.

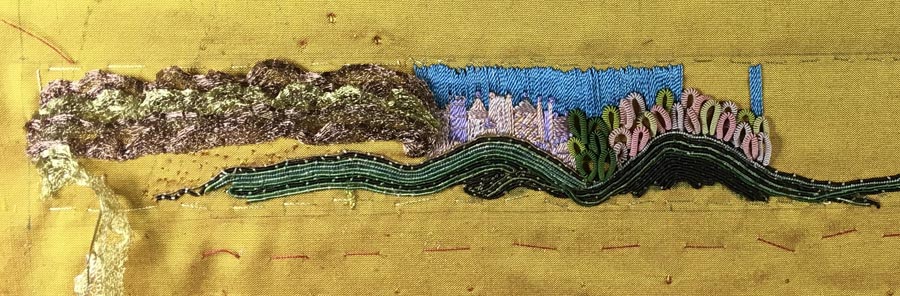
I decided everything should fit within the frieze area. Images from left to right;
Golden Rule Mountains, Forest, Castle of the Princely Dragon, Enchanted Forest, Castle of the Dragon Prince, Forest, and more Golden Rule Mountains were added to the right side.

Everything in place.
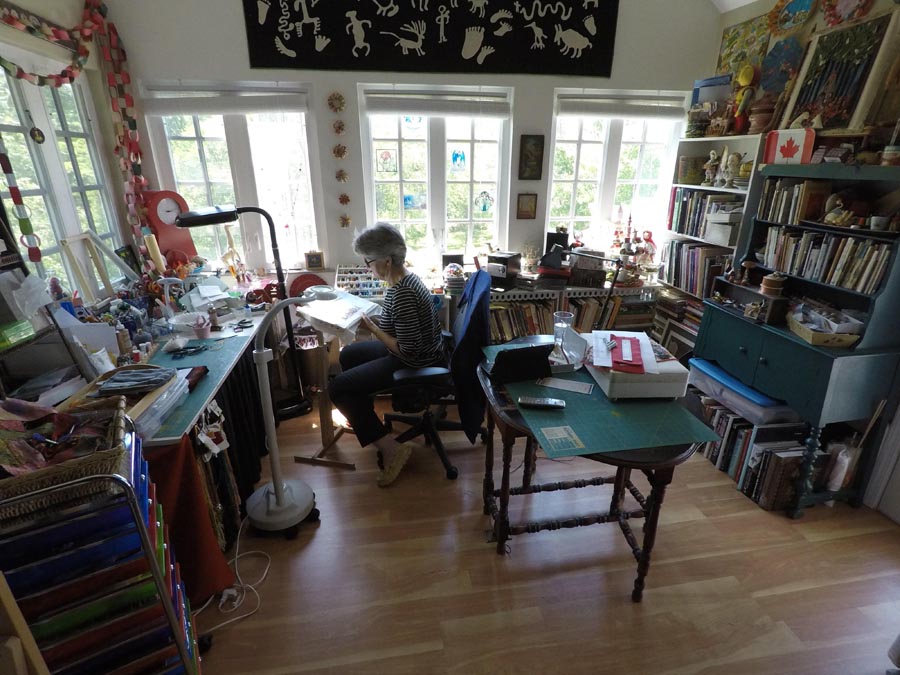
Hard at work in my sunny studio!

Thank you Janet for sharing your wonderful progress! I hope to start my casket next year. It should have been this year, however, I was asked to stitch a rather long pair of Bavarian suspenders :).
And thank you for visiting!
It looks lovely. You are closing in on the end, I think.
Again flabbergasted when I see all these special techniques !!!
And another wonderful casket !!!
Love to see you in your studio 😉
It's gorgeous – and always fascinating to see what you didn't do, as well as what you did!
Thank you for showing how you try things and change your mind. I love the photo of you in your studio. You have made so much progress! Almost done!
Oh how excited I get when I see one of your posts in my inbox. It's been awhile since I've tackled a large Stumpwork project but your techniques and process inspire me to get back to it! Thank you!
Thank you one and all for visiting. If this inspires you to do stumpwork of your own please share! I'd love to see what others are doing.
looking fabulous Janet~ love your side garlands XOXOXOX
just amazing as always…LOVE the photo of you in your beautiful studio!!