The “Once Upon A Time” video is here for your enjoyment. And a companion piece.
6-17-17 Official Finish Date!
It is official, the casket is complete! 6-17-17, yesterday, I finished the key tassels. I wrapped the wooden forms with gilt and silver plated Elizabethan Twist. Now I plan to put 4 […]
Casket Progress….It’s Getting Close!
After posting images of the back panel I decided it wasn’t done to my satisfaction. So, using some of the techniques I used for the Casket Toys, I created some swags for the […]
Forest or Trees……Garden or Flowers…..?
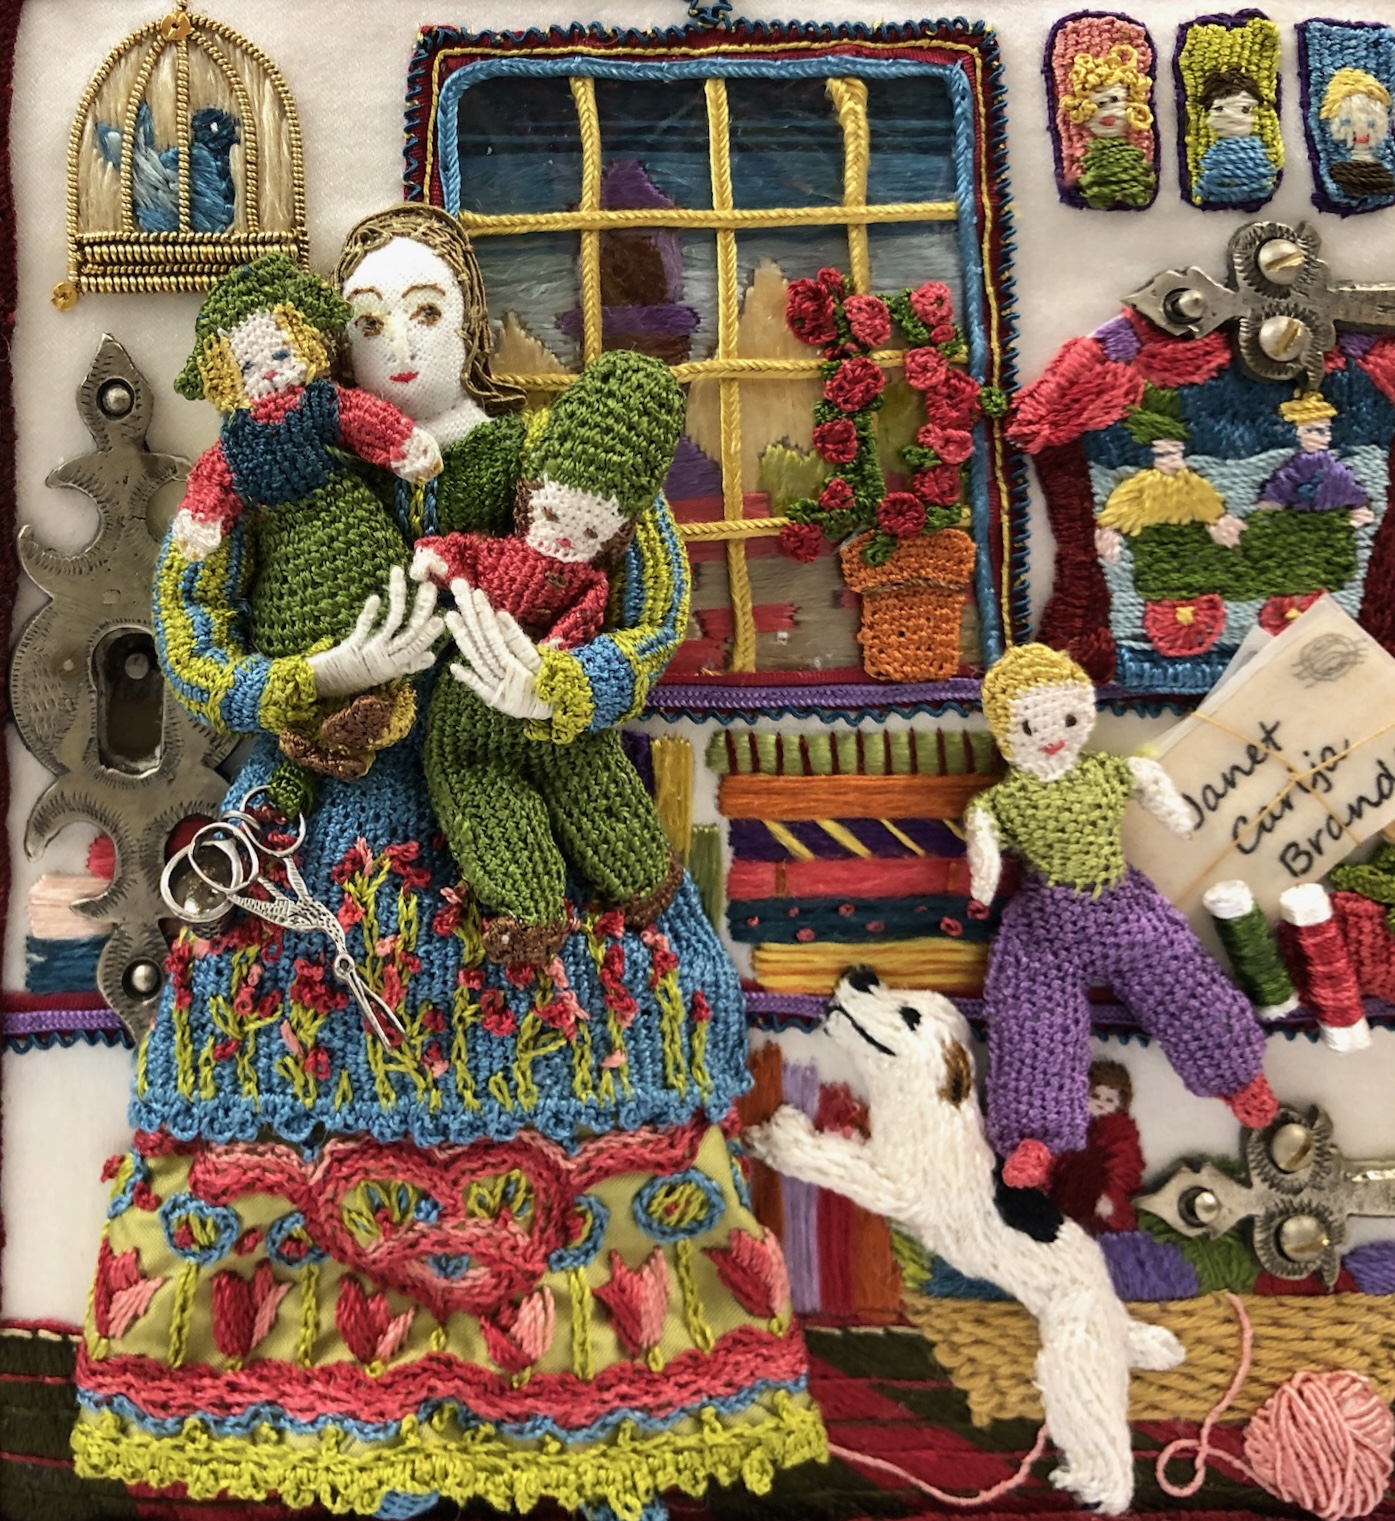
Ruthie bids farewell to the Bluebird as she and Joseph head into the Enchanted Forest. The lower back panel is complete. Here are lots of details. A big step in the process […]
Panel In Place
In Place! I almost gave up on this piece. So many mistakes in measuring, placement, gluing……. I’m glad I didn’t give up. Yes my name is hard to read but I love the […]
Signature Piece
Inside the casket is a panel that slides over the top drawers. It is the only piece I hadn’t covered yet. Here is the embroidery for that panel. My name is pretty easy […]
Casket Back Progress
I do have a plan when I start. It is really more of a guide, an inspiration or just an idea. It is rarely followed line by line. But I do have […]
Make America Smart Again*
Making Creative Children I think creativity is one of the most powerful human traits we possess. When we deprive children of arts programs, we aren’t taking away busywork. We are taking […]
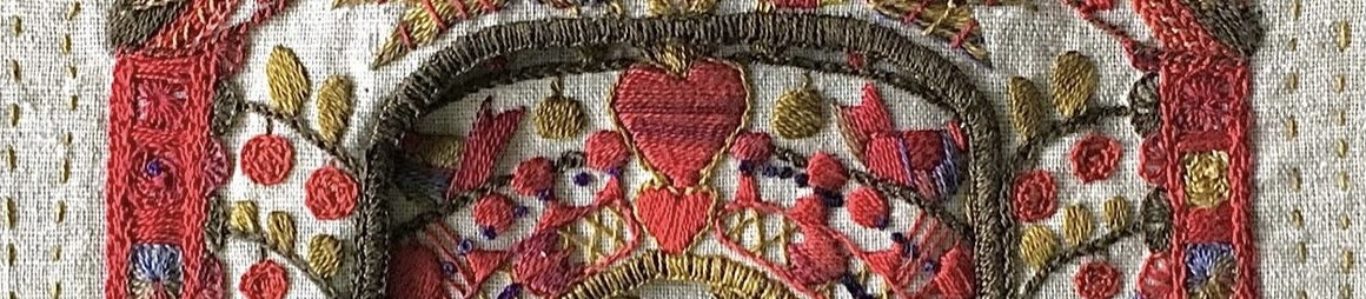
Knot In My Backyard
This knot garden is stitched with a foundation of silk braided lacet trim basted to a pattern on a fabric base. Those are the red stitches. I always try to use a contrasting color, […]