My Trinket Box is finished. Here is what I learned. 1. Covering with paper. It isn’t difficult, but it does take time and thought. The edges are the critical points. Studying extant caskets will quickly show you the spots […]
You finally Get to See This Casket Thing I’ve Been Talking About
I’d like to propose a toast to my embroidery journey! The casket’s first hug.
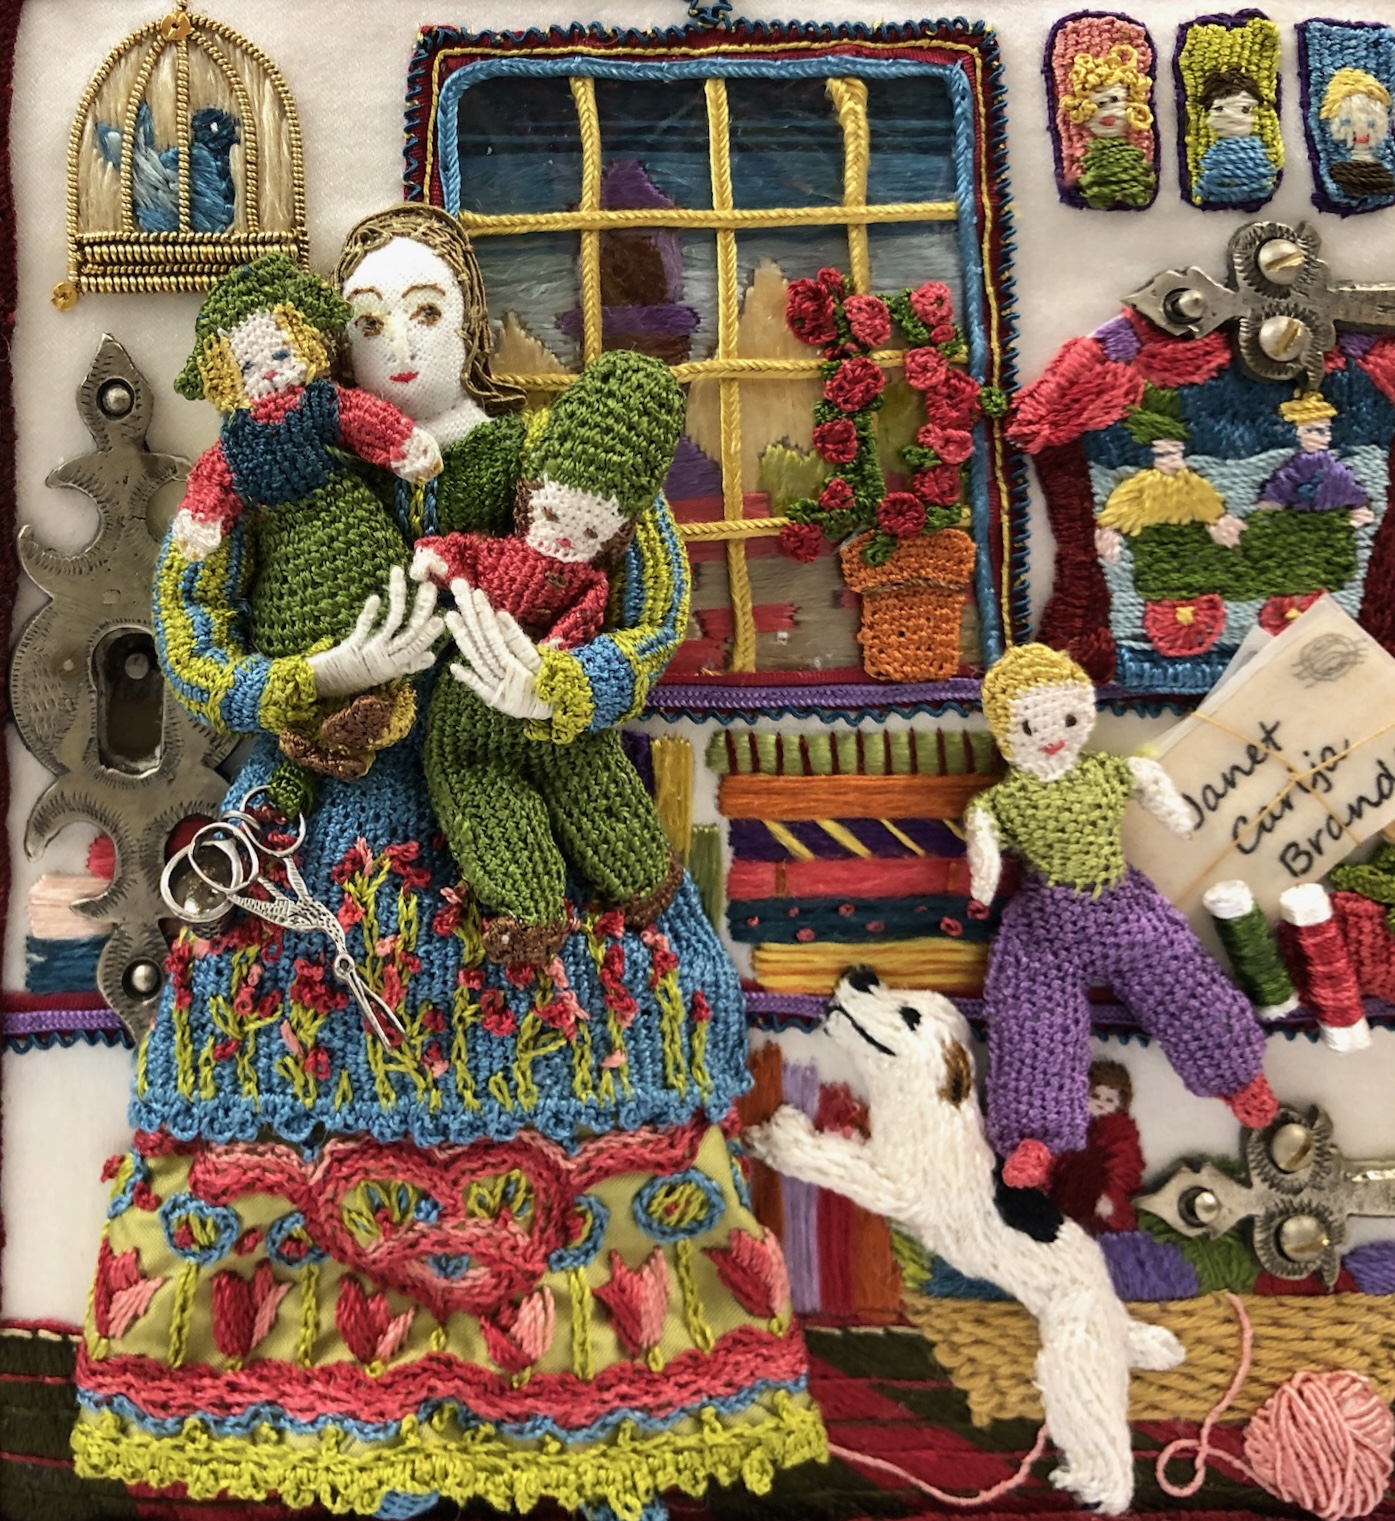
Two Dollies in Red
Two Dollies in Red One is a Thimblehead Well it’s really a hat Imagine that.
Not PC (Period Correct)
I have covered my trinket box in the period correct manner of wheat paste and wonderful handmade paper. Tricia’s video instructions made it easy. After that point I have deviated, went to the dark side, […]
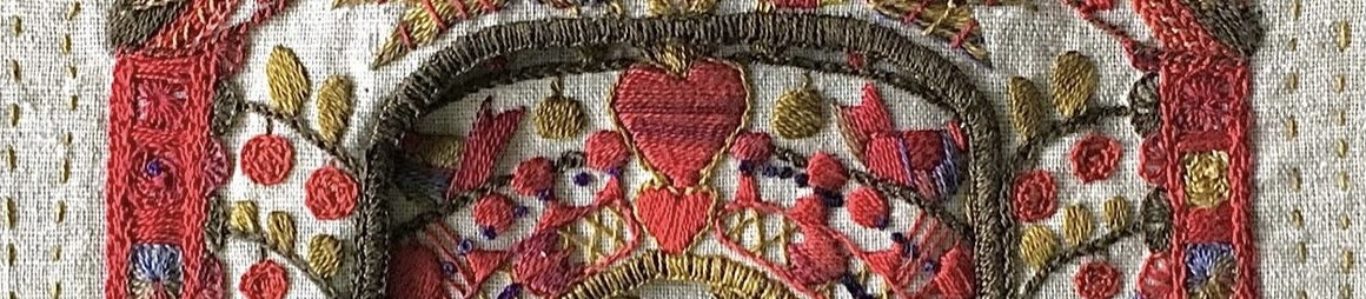
More From the Mathers Museum
Eye candy and stitching close-ups.
Miss Trinket
Meet Miss Trinket. And here is Miss Trinket’s Box.
Zhen Xian Bao
This is the delightful book that told me all about Chinese Thread books or Zhen Xian Bao. And there are 4 workbooks available. Here is all of the information about the books that I have […]
A Little Girl in White
The dolly family is growing.
Trinket Box Treasure
2 panels for the trinket box are stitched. Here is where they go on the box. Lots of work to do before that happens though. But what’s inside? Out of the box. Untied. Opened! My […]
Trinket Box, front or side
It might be the front or it might be the back of the trinket box. Just playing with colors and materials.