The first map to guide you around the World of Possibilities.
Hidden Meanings
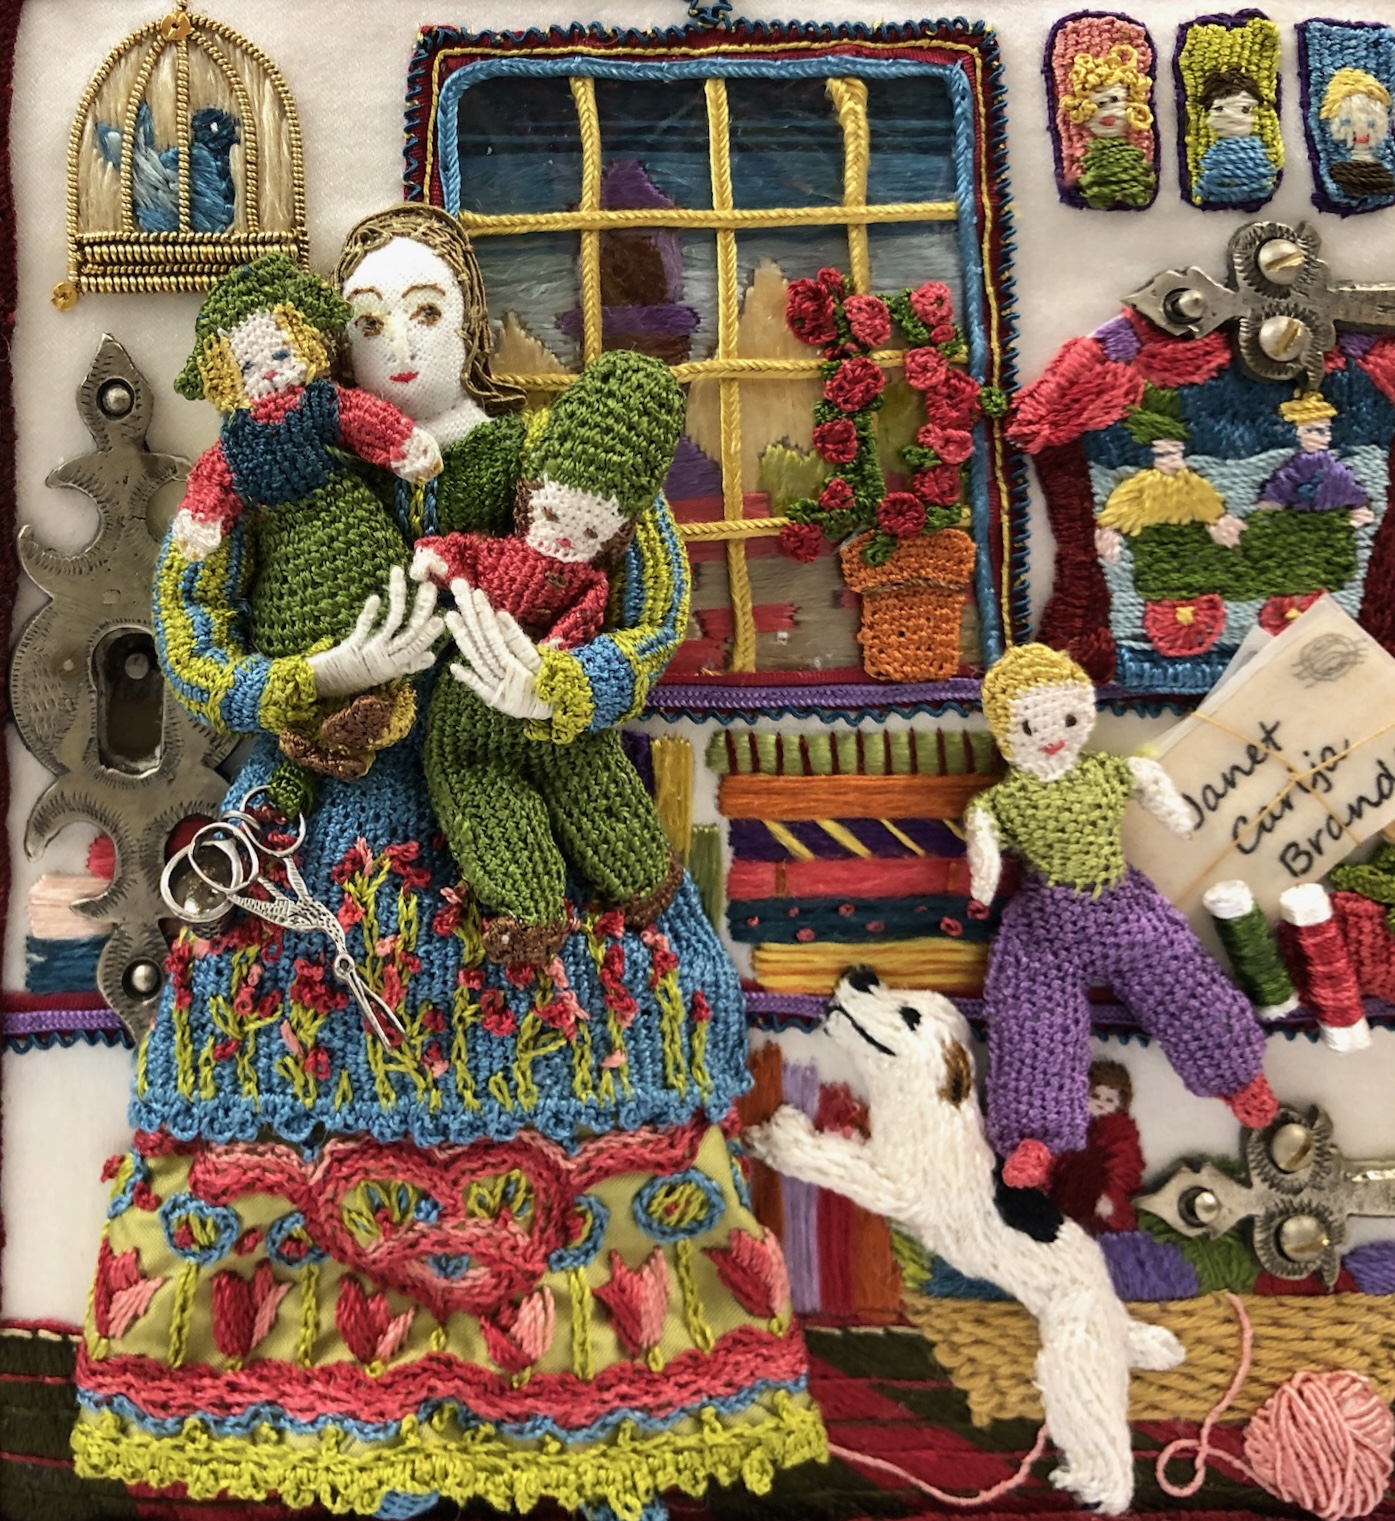
More Casket Toy News When I first posted an image of William’s workshop on one of the doors of my casket I didn’t go into much detail about the design. Starting in the […]
Casket Toys Part III
Casket Toy Contest The doll version of Time began as a stuffed body of the figure that has a wire armature inside. Mr Peacock is not sure what to make of him. The […]
Casket Toys Part II
More about my casket toys! There is a very good reason this garden twinkles! The photo above shows how each flower was made. A short length of metal purl was stretched out over a […]
The Garden, Casket Toys Part I
Lucky Me! Check The Embroiderer’s Story this morning. My Casket Toys have won the grand prize, A New Casket for me to embroider! One of the toys I entered is this garden scene. Here is […]